Description
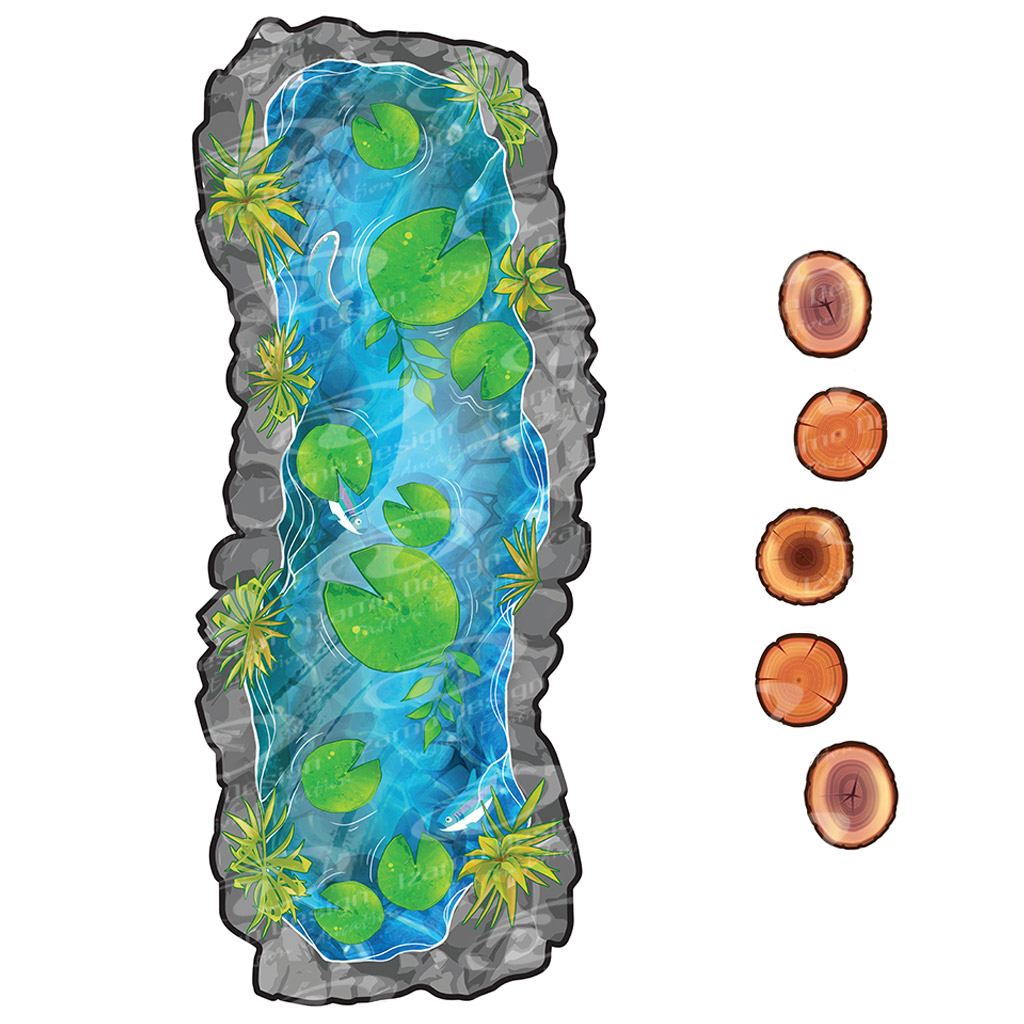
Transforming hallways into a playground where the young and the young-at-heart can get active? Now that is a great idea! This growing trend has inspired us to create a brand-new line of products. Designed in partnership with teaching professionals, our Active Hallways aim to fulfill pedagogical requirements and the needs of every kid. And our beloved graphics give them a cool look of their own! Crafted with durable materials and a state-of-the-art printing technique, our Active Hallways comply with all applicable security standards. The choice is yours! With multiple themes available, you’ll be sure to find one that your students will love. All of them boast safe and durable materials that can withstand even the most vigorous cleanings (such as floor waxing and stripping).
PREPARATION AND INSTALLATION
Preparation
- Make sure you adequately prepare the surface on which you will install the layout before gluing the active corridor. The floor must be perfectly clean, dry, smooth, non-porous and void of grease, wax spots, or other polluting agents.
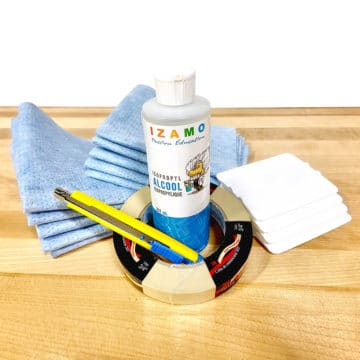
- We suggest that you use a degreasing agent such as isopropyl alcohol to suppress all traces of residues. On our website, you will find an installation kit which includes this product, among other things.
-
Before installing, we suggest that you unwrap all the layout’s parts and lay them flat for a few days. This will allow the stickers to slacken, making the installation of the parts on the floor easier.
Installation
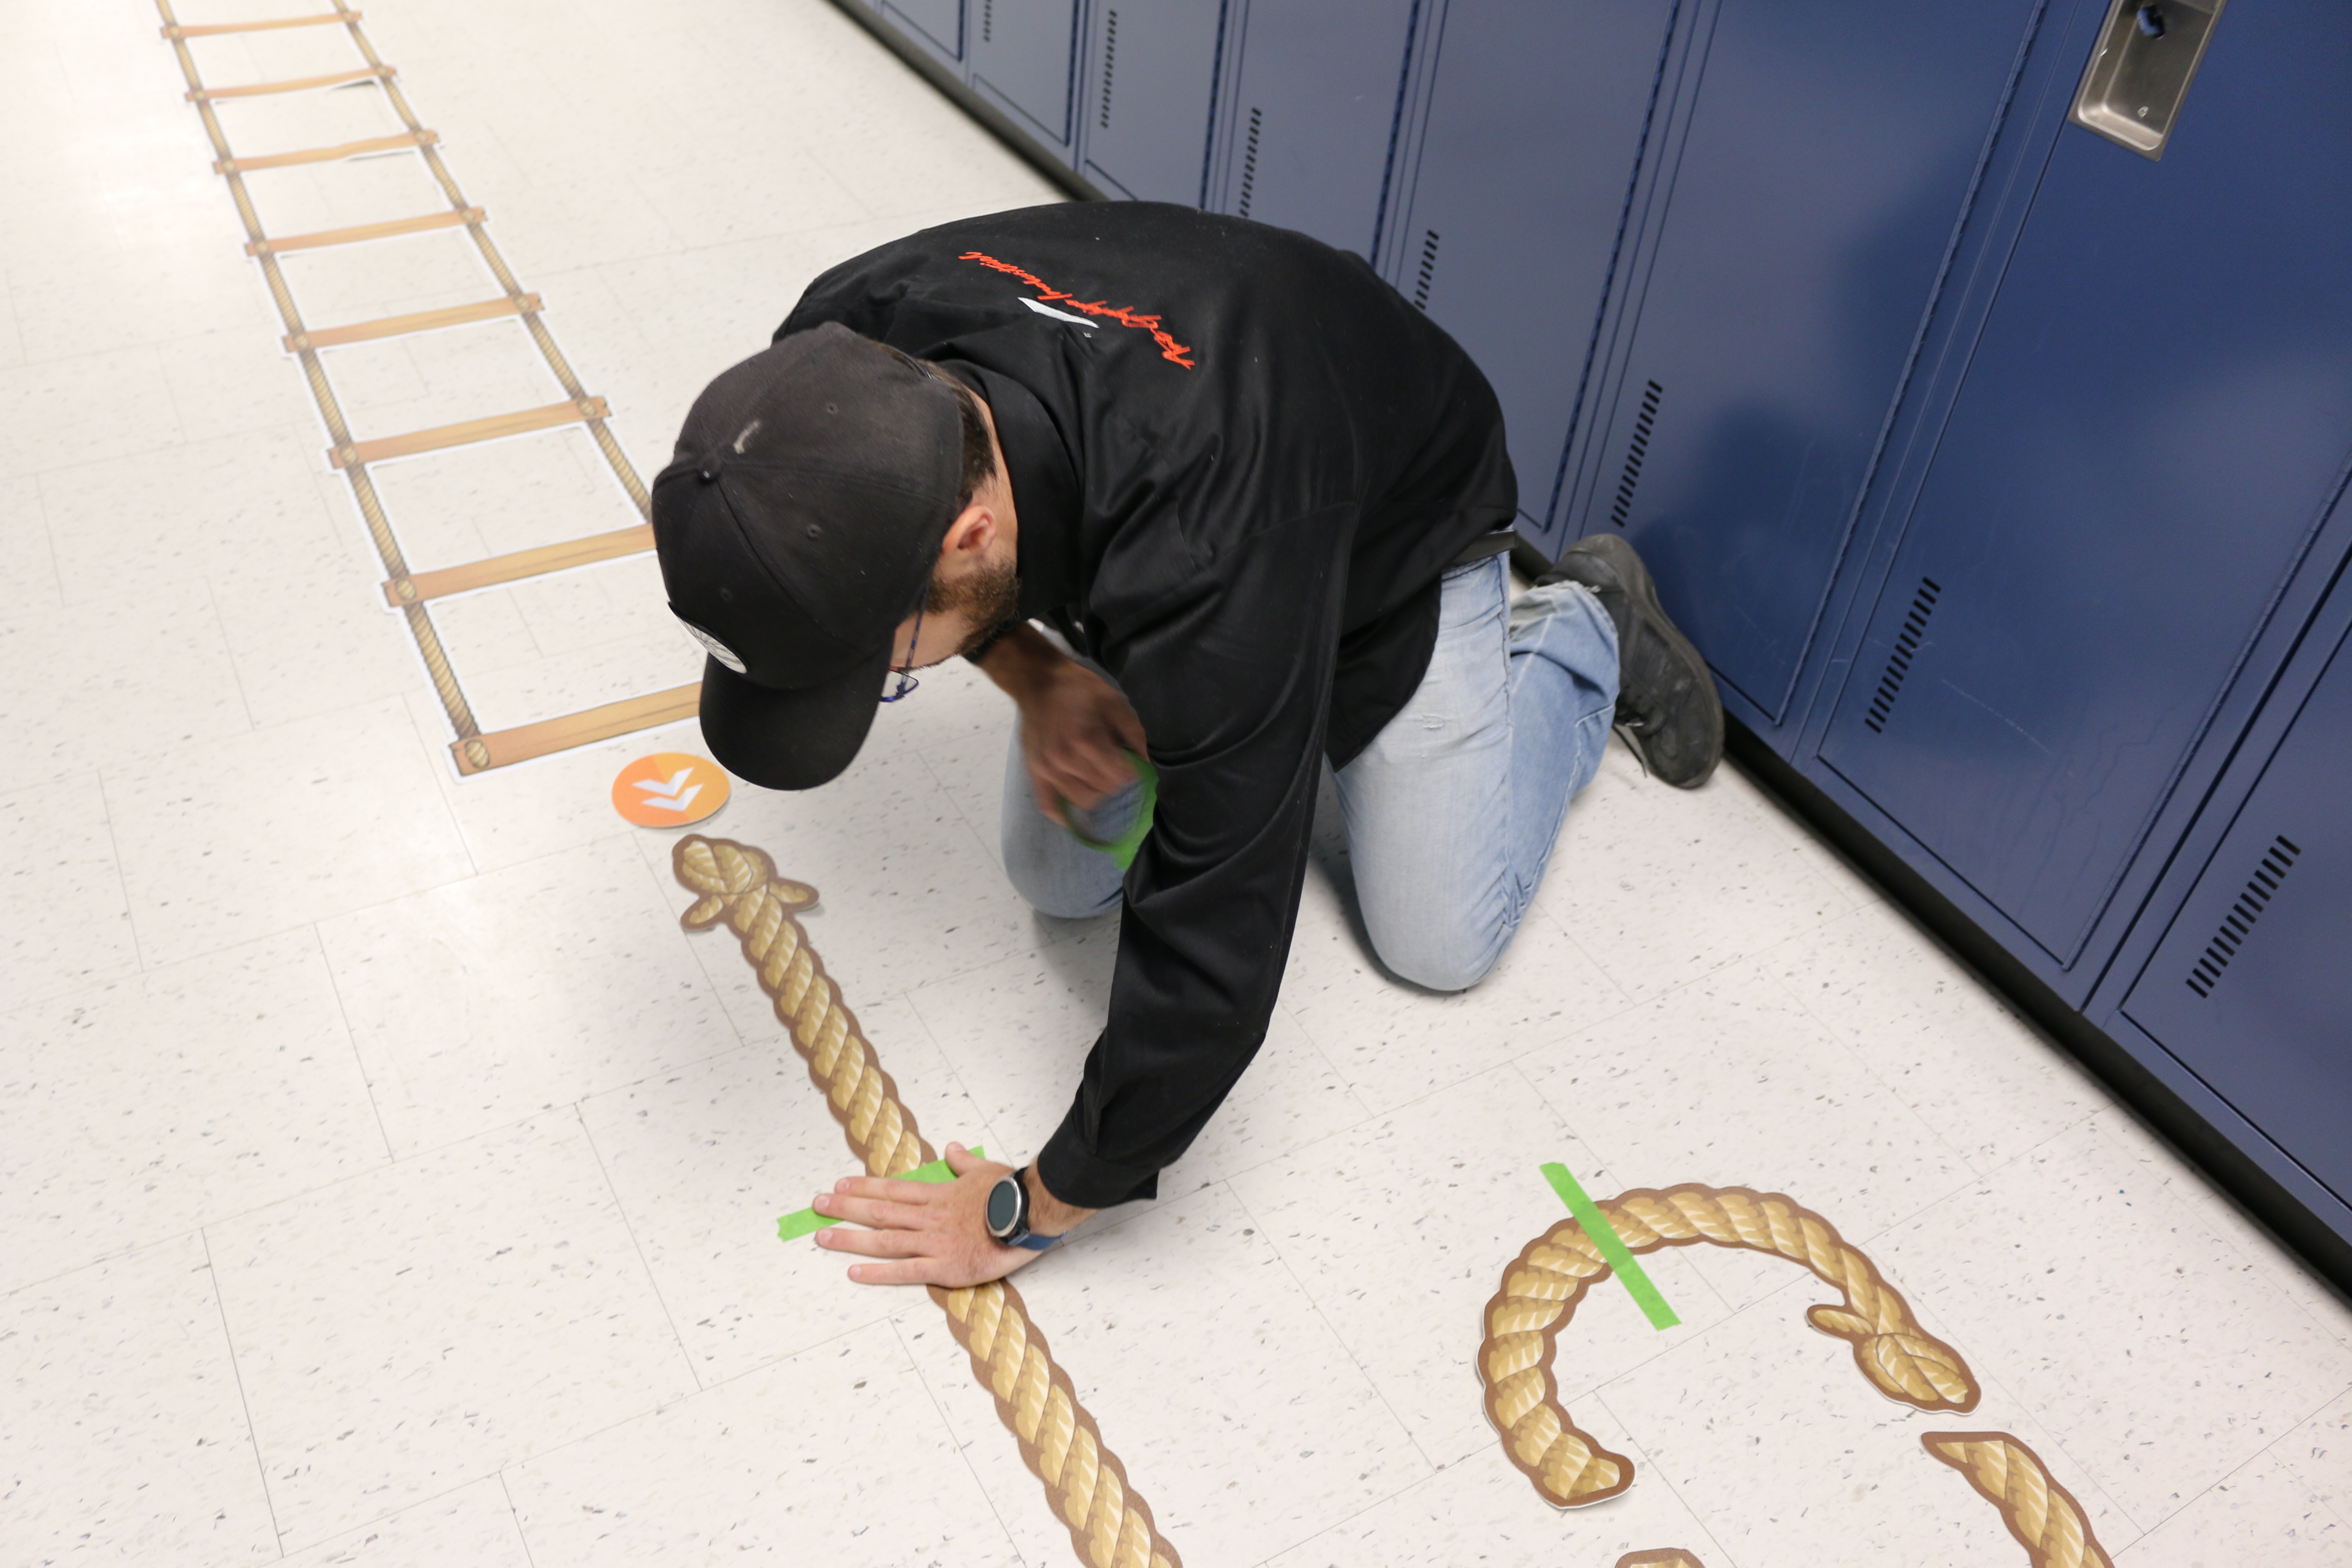
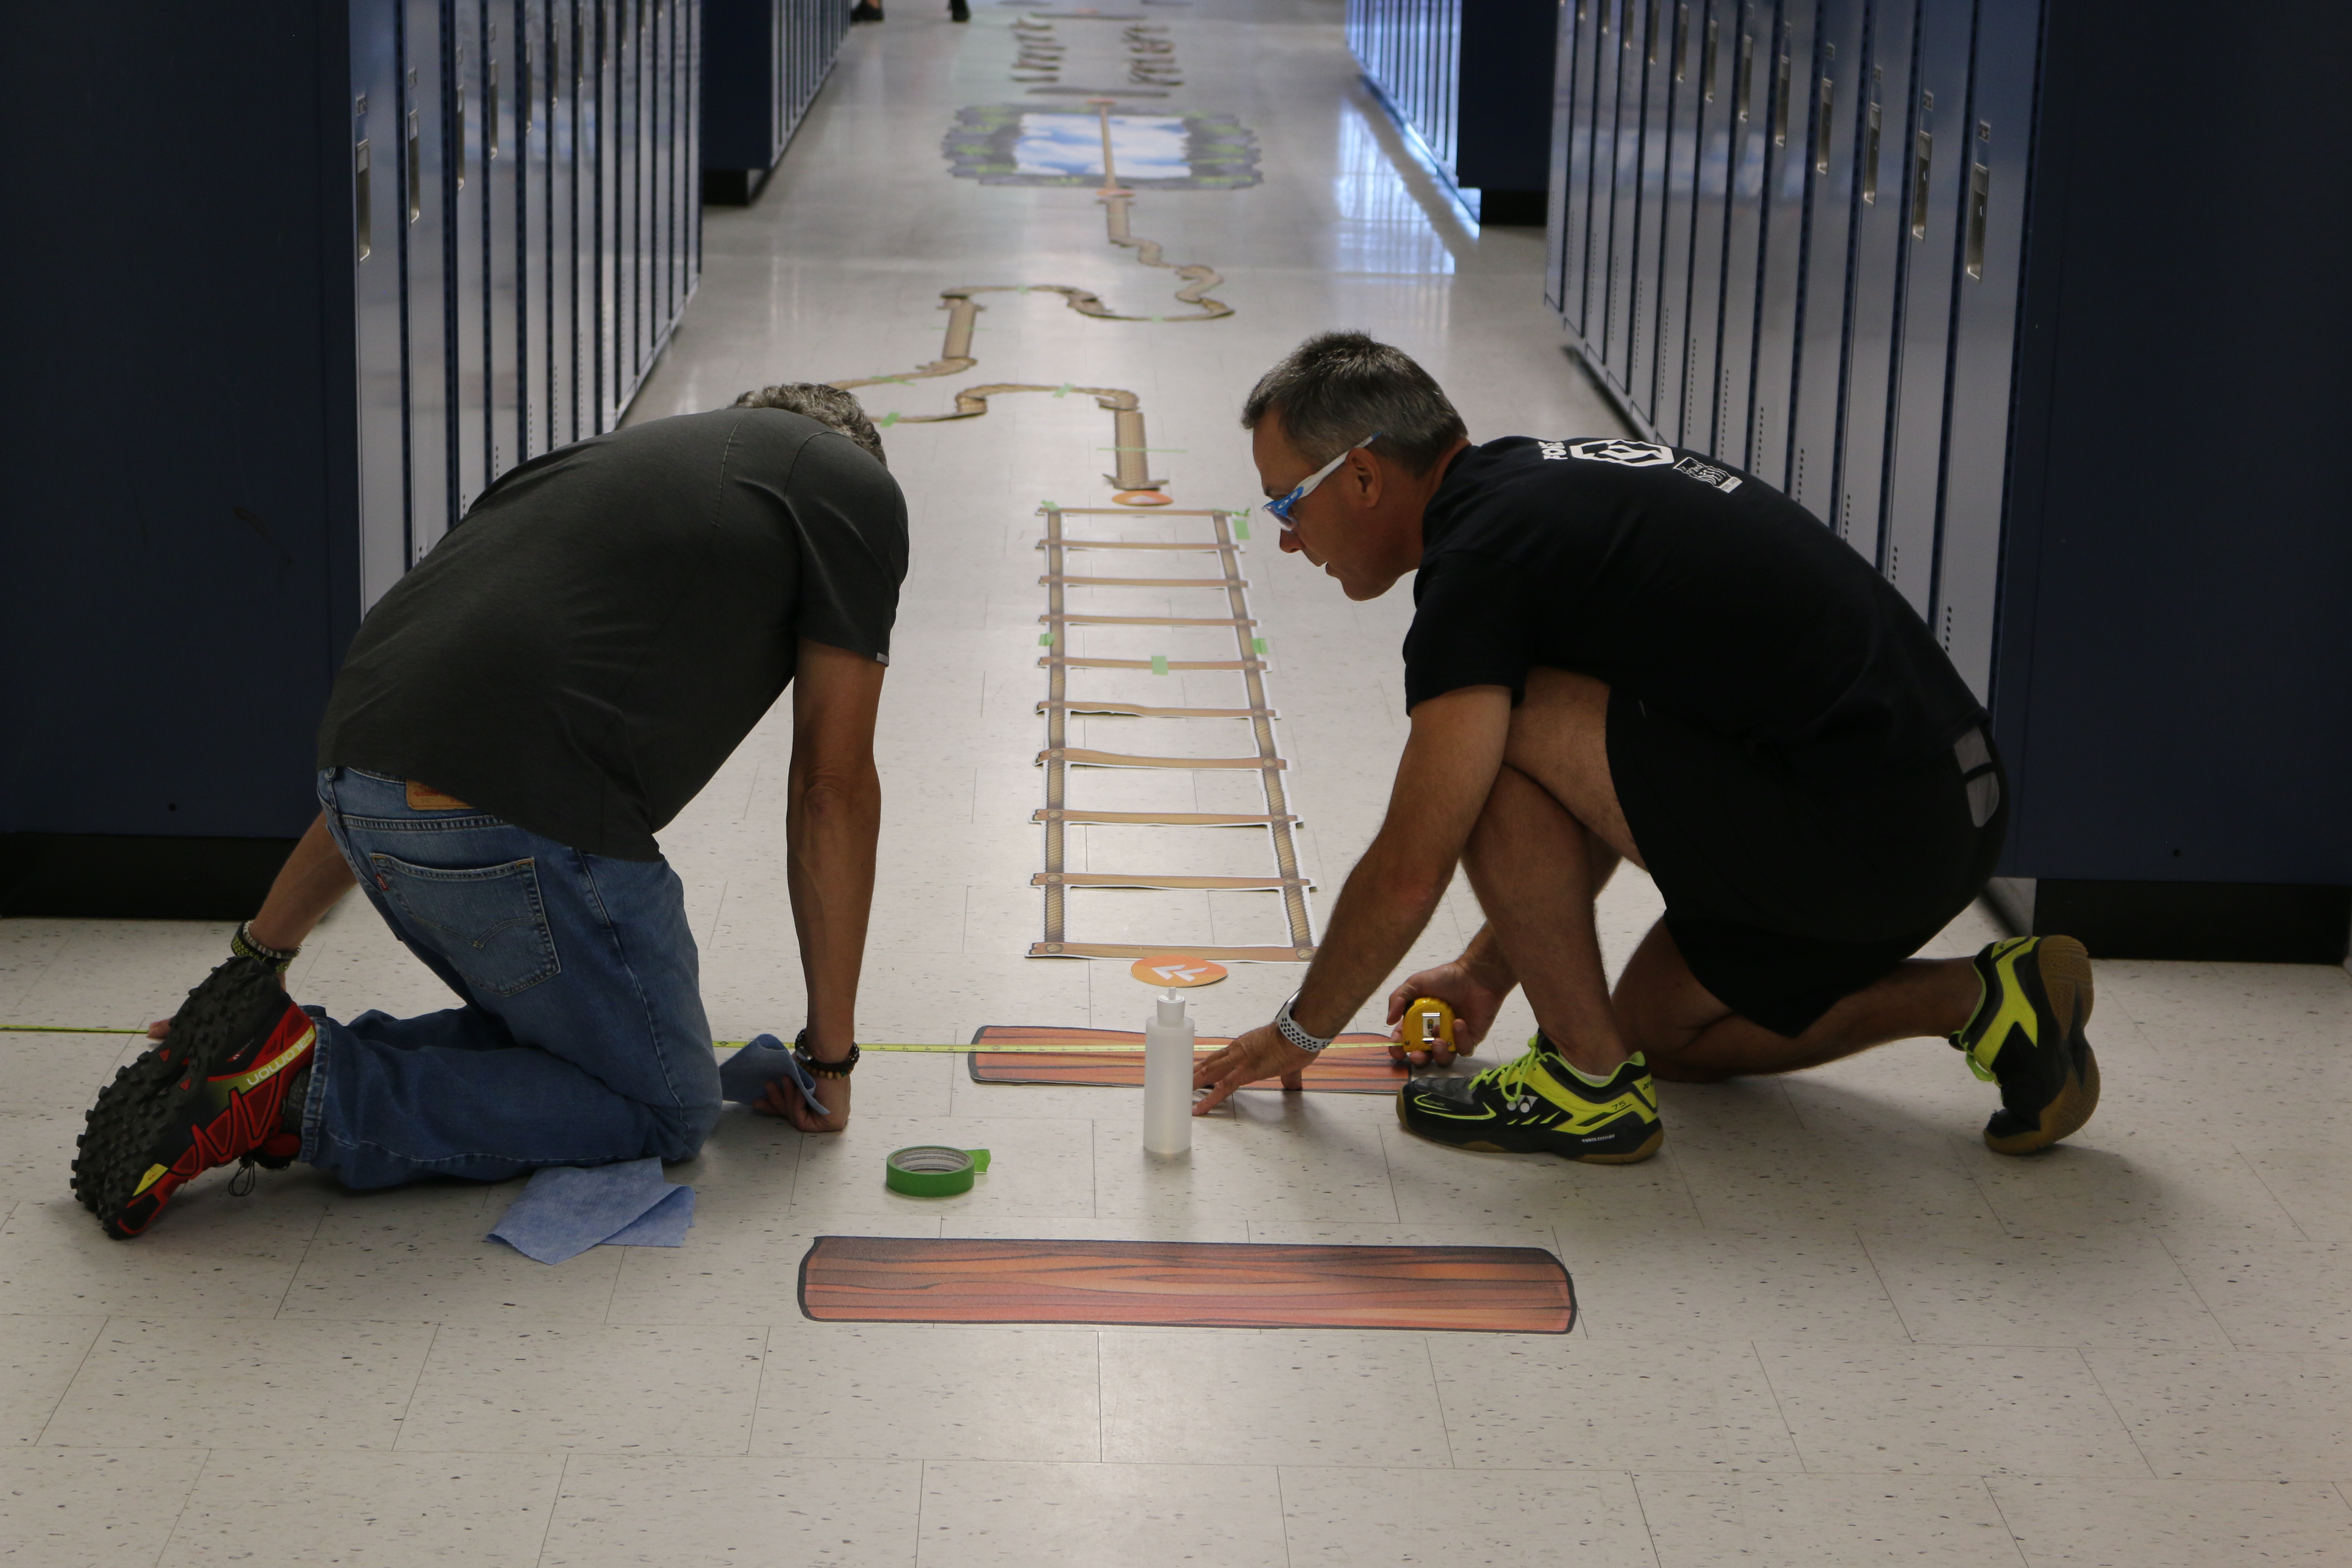
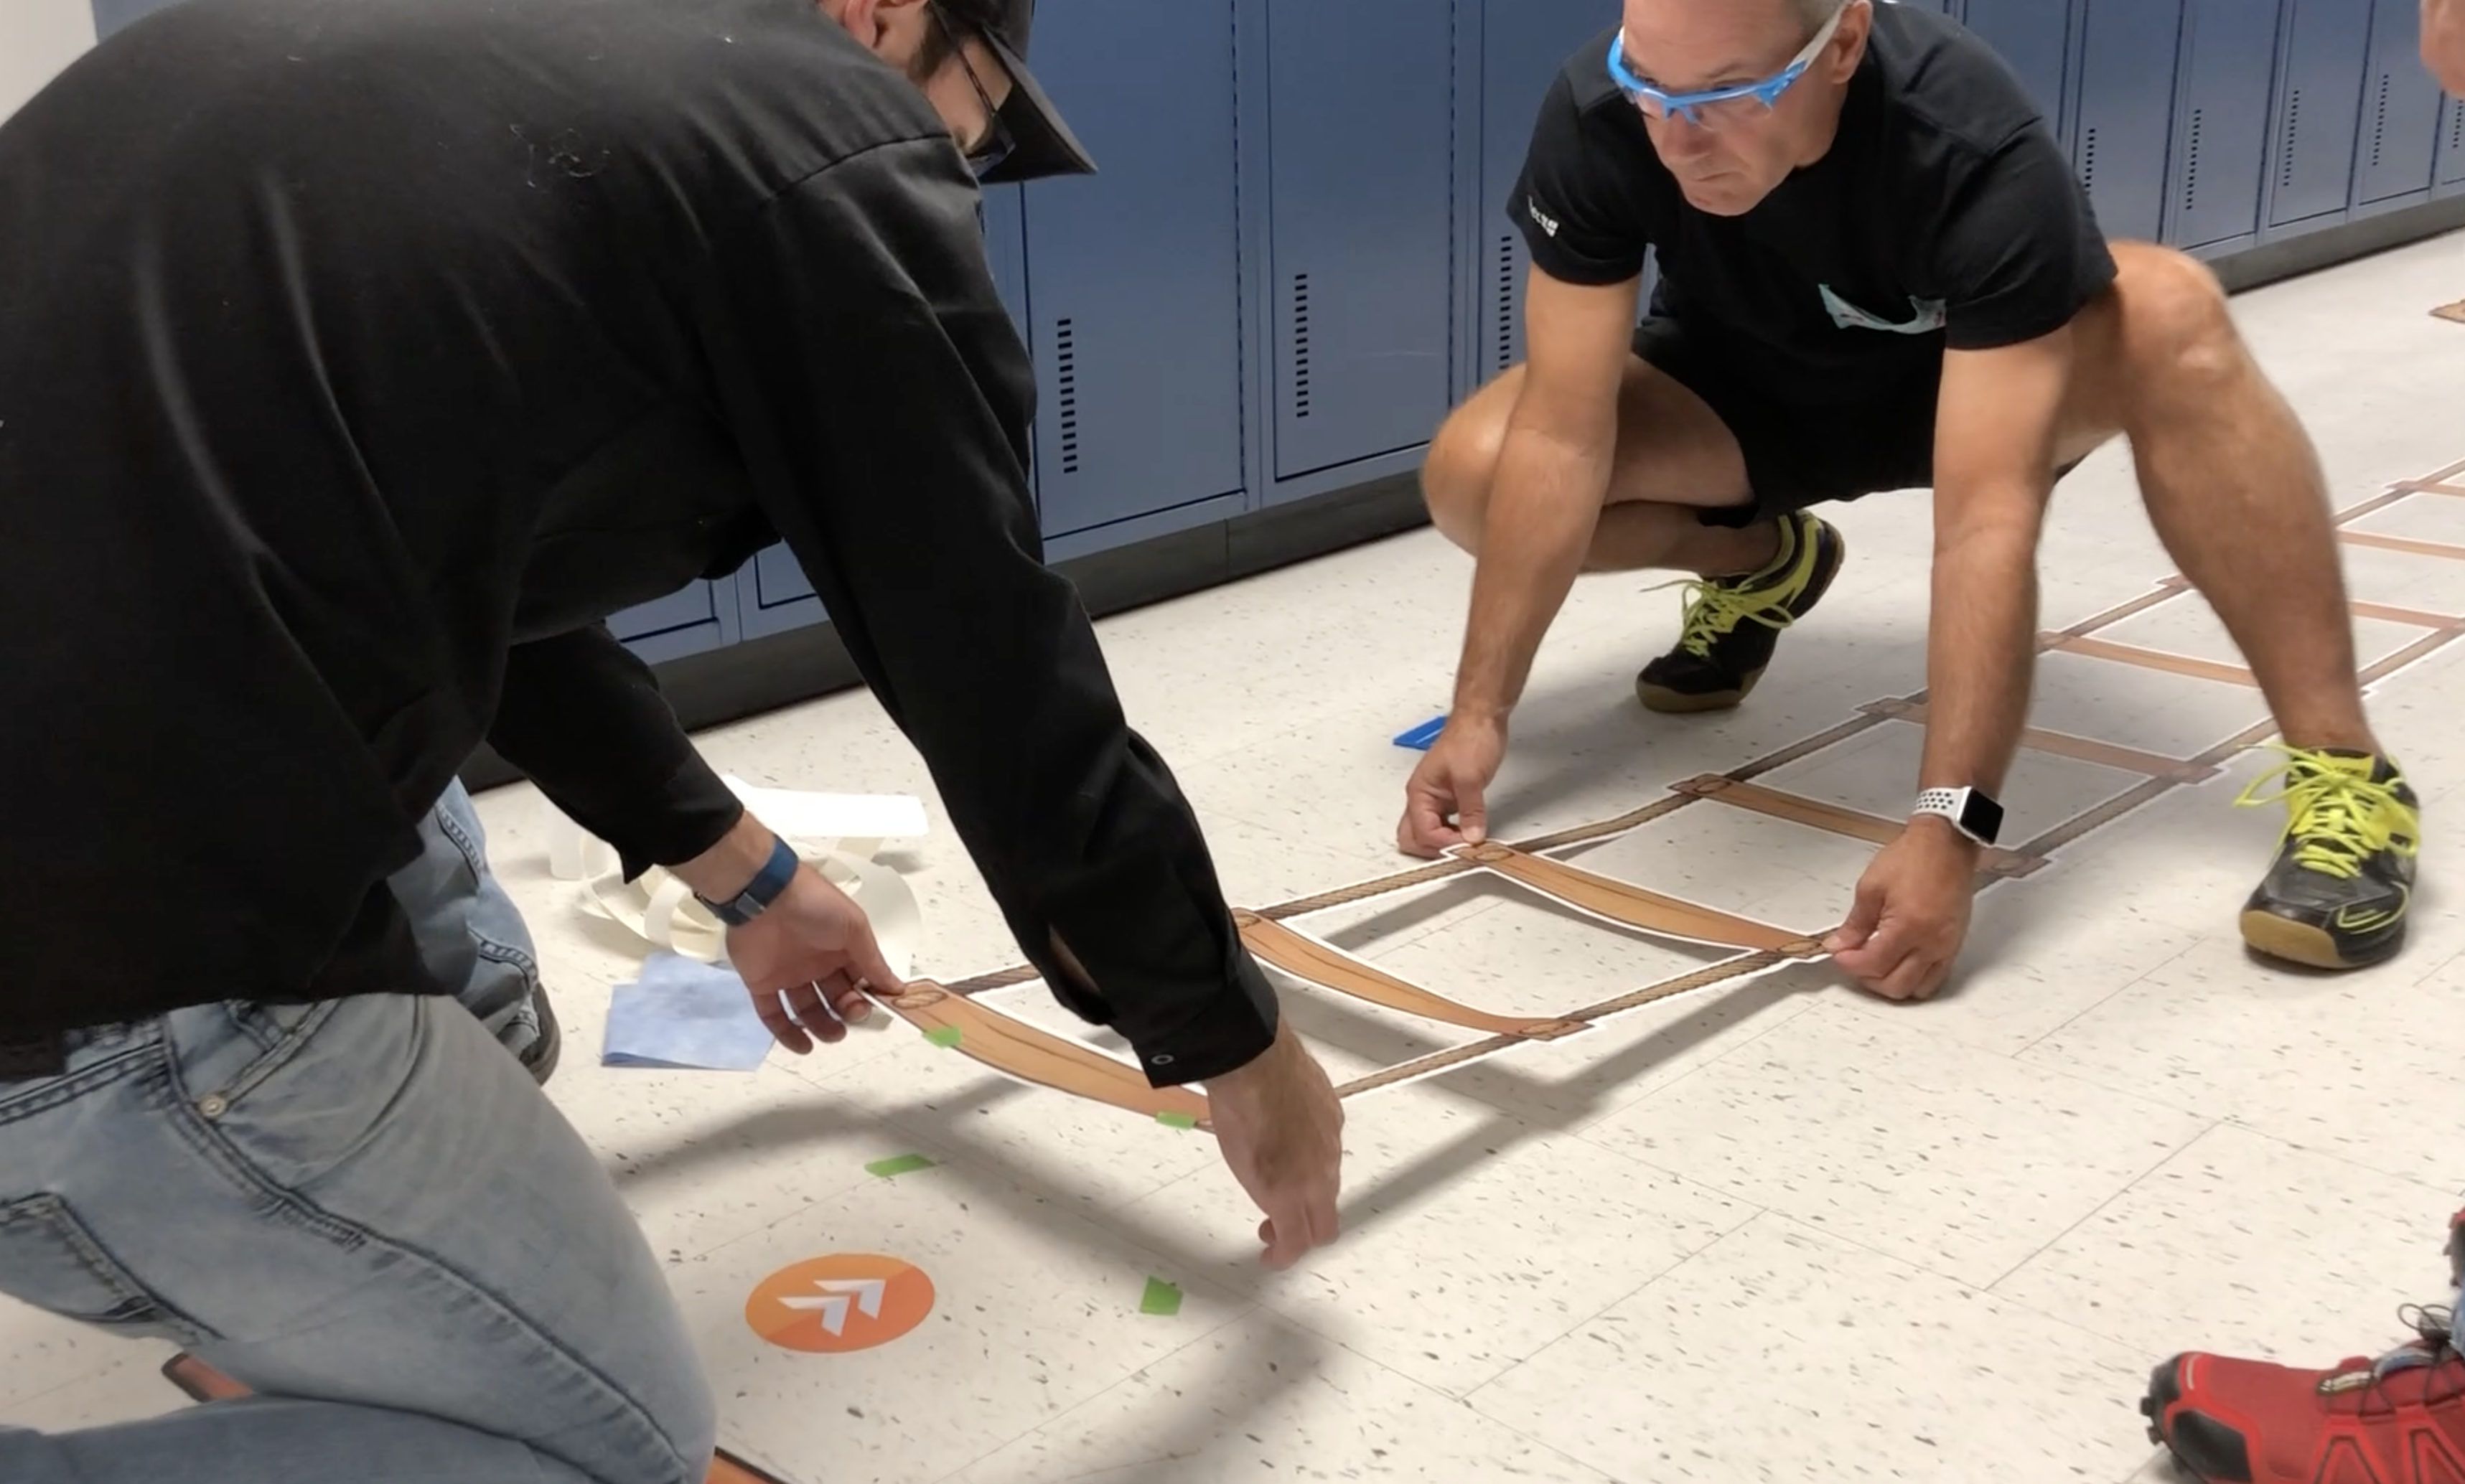
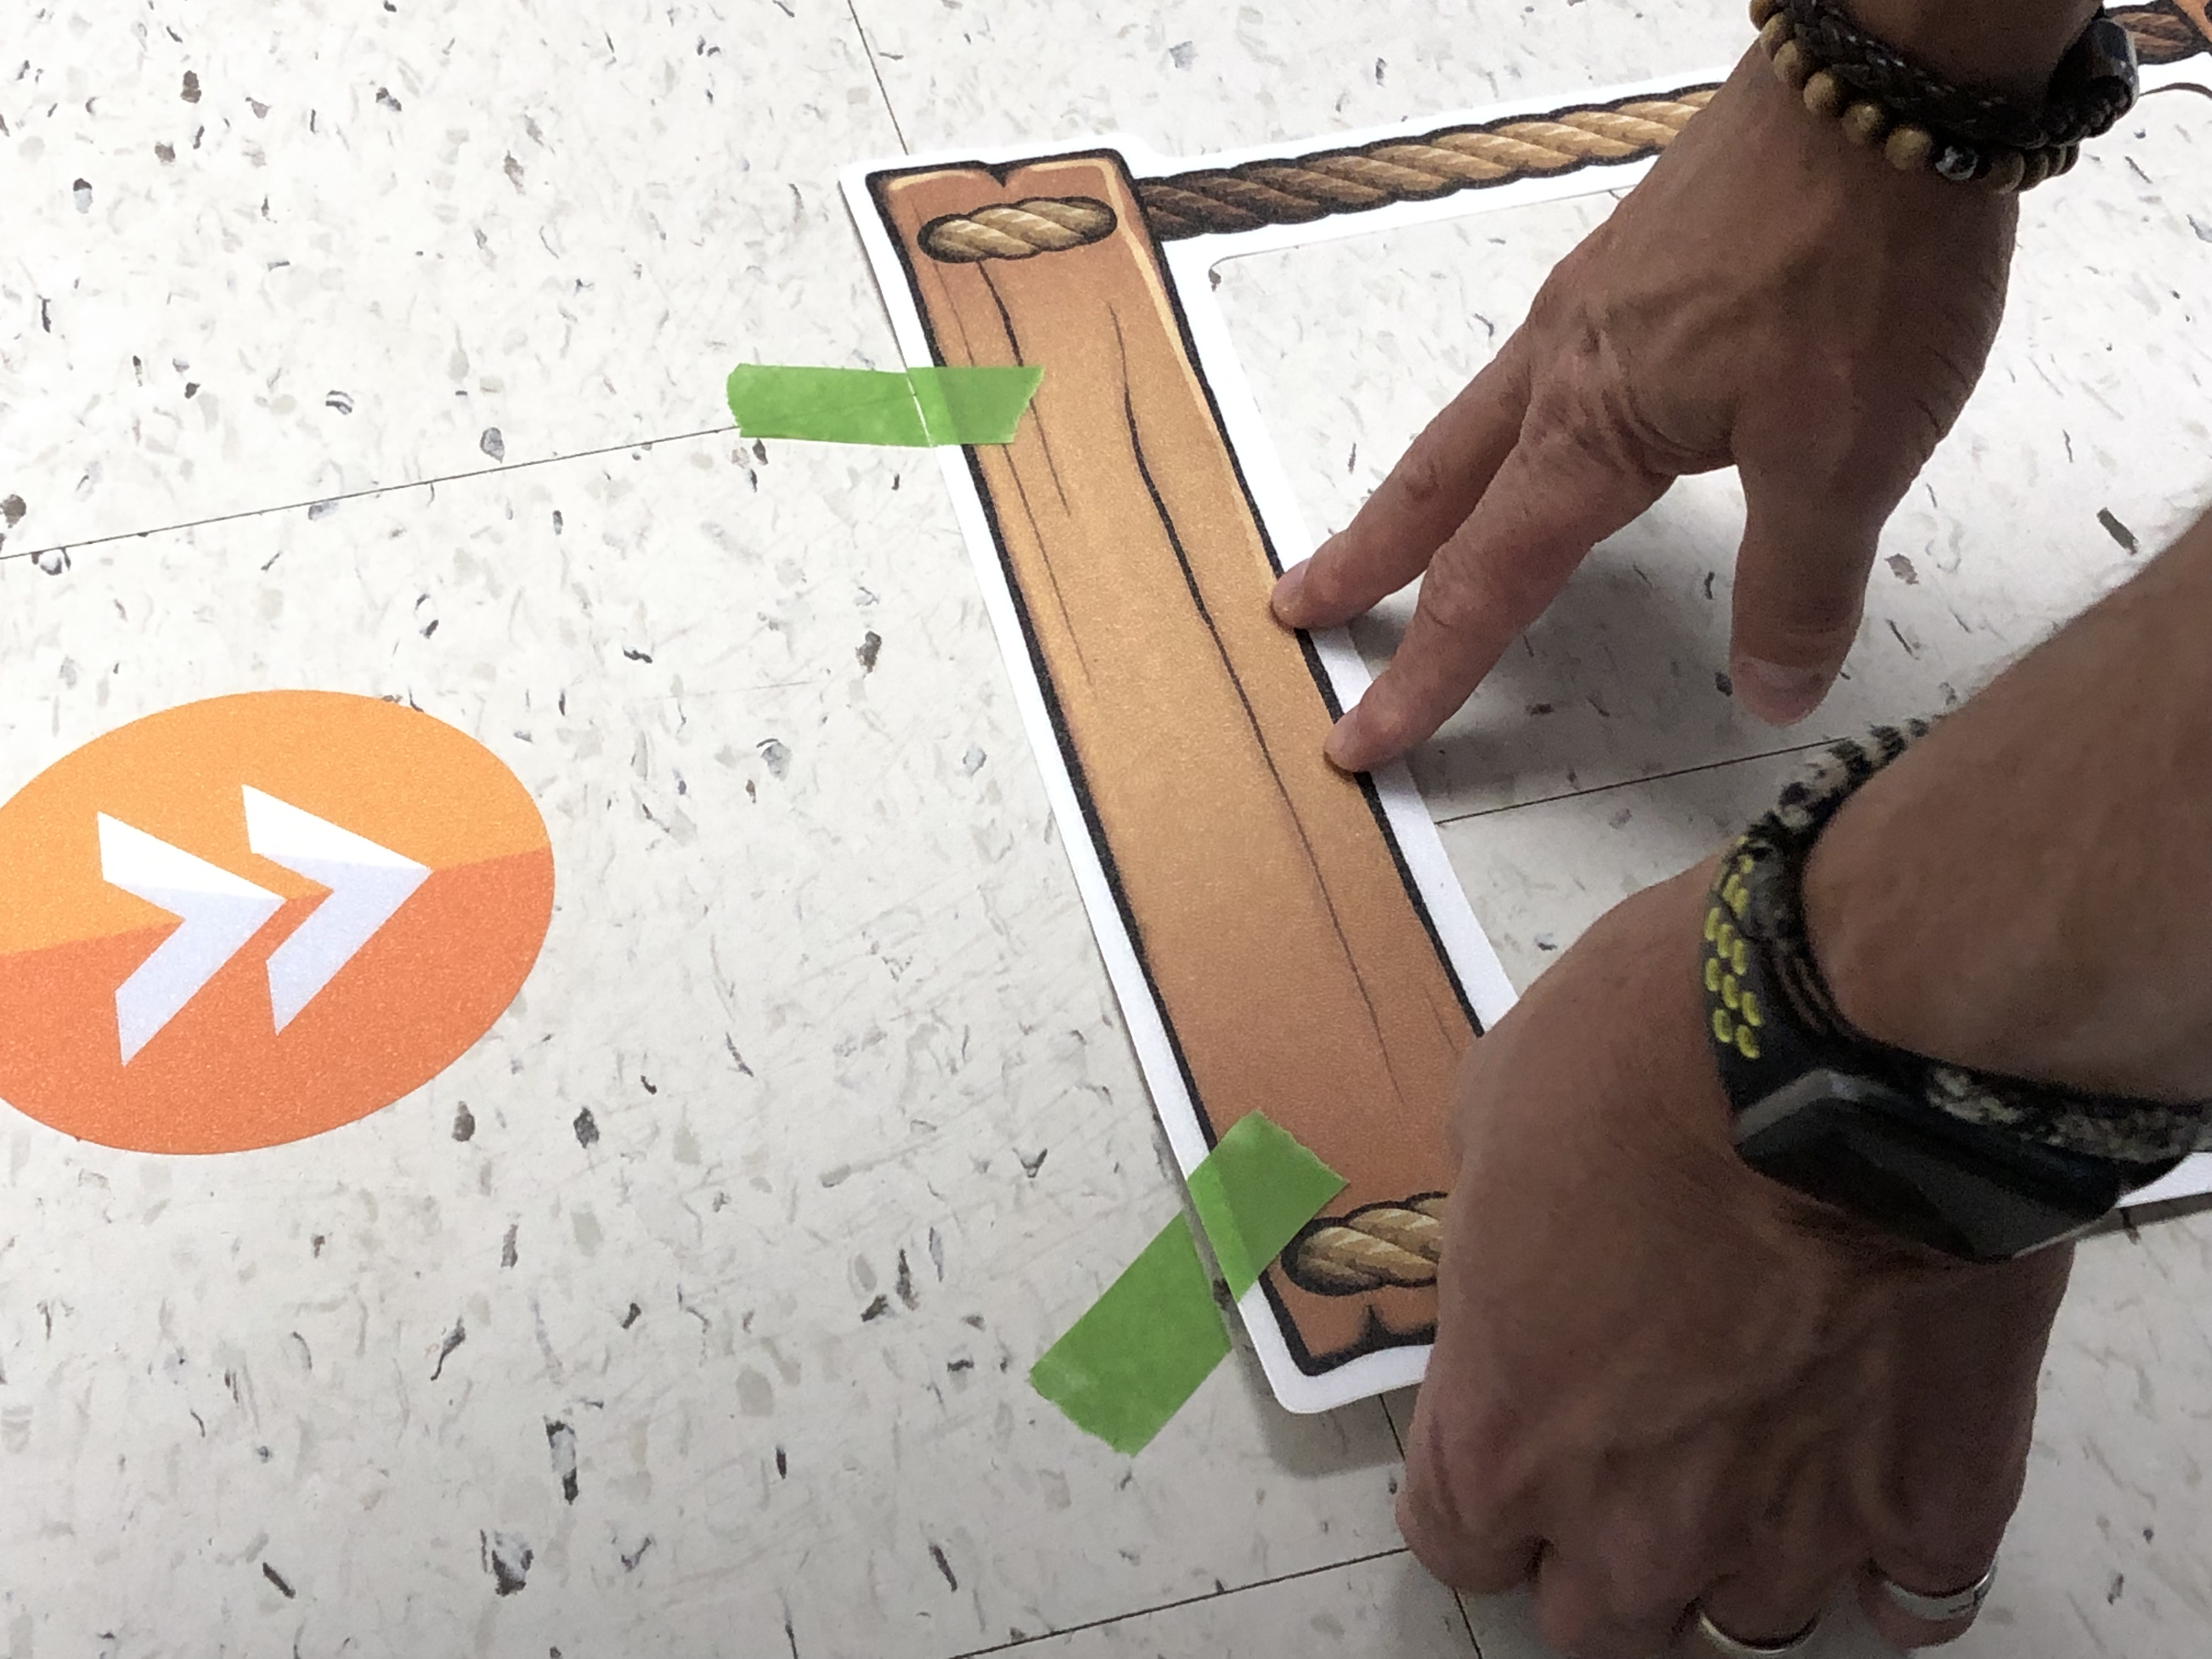
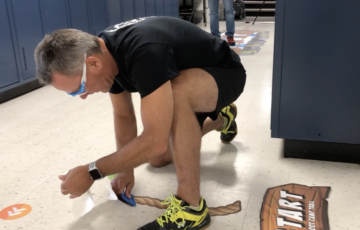
- Once your floor is perfectly clean and dry, you may position the parts where you intend to glue the rink. If you wish, you may run a few tests by using the self-adhesive tape to temporarily secure the layout’s parts before performing the actual installation.
-
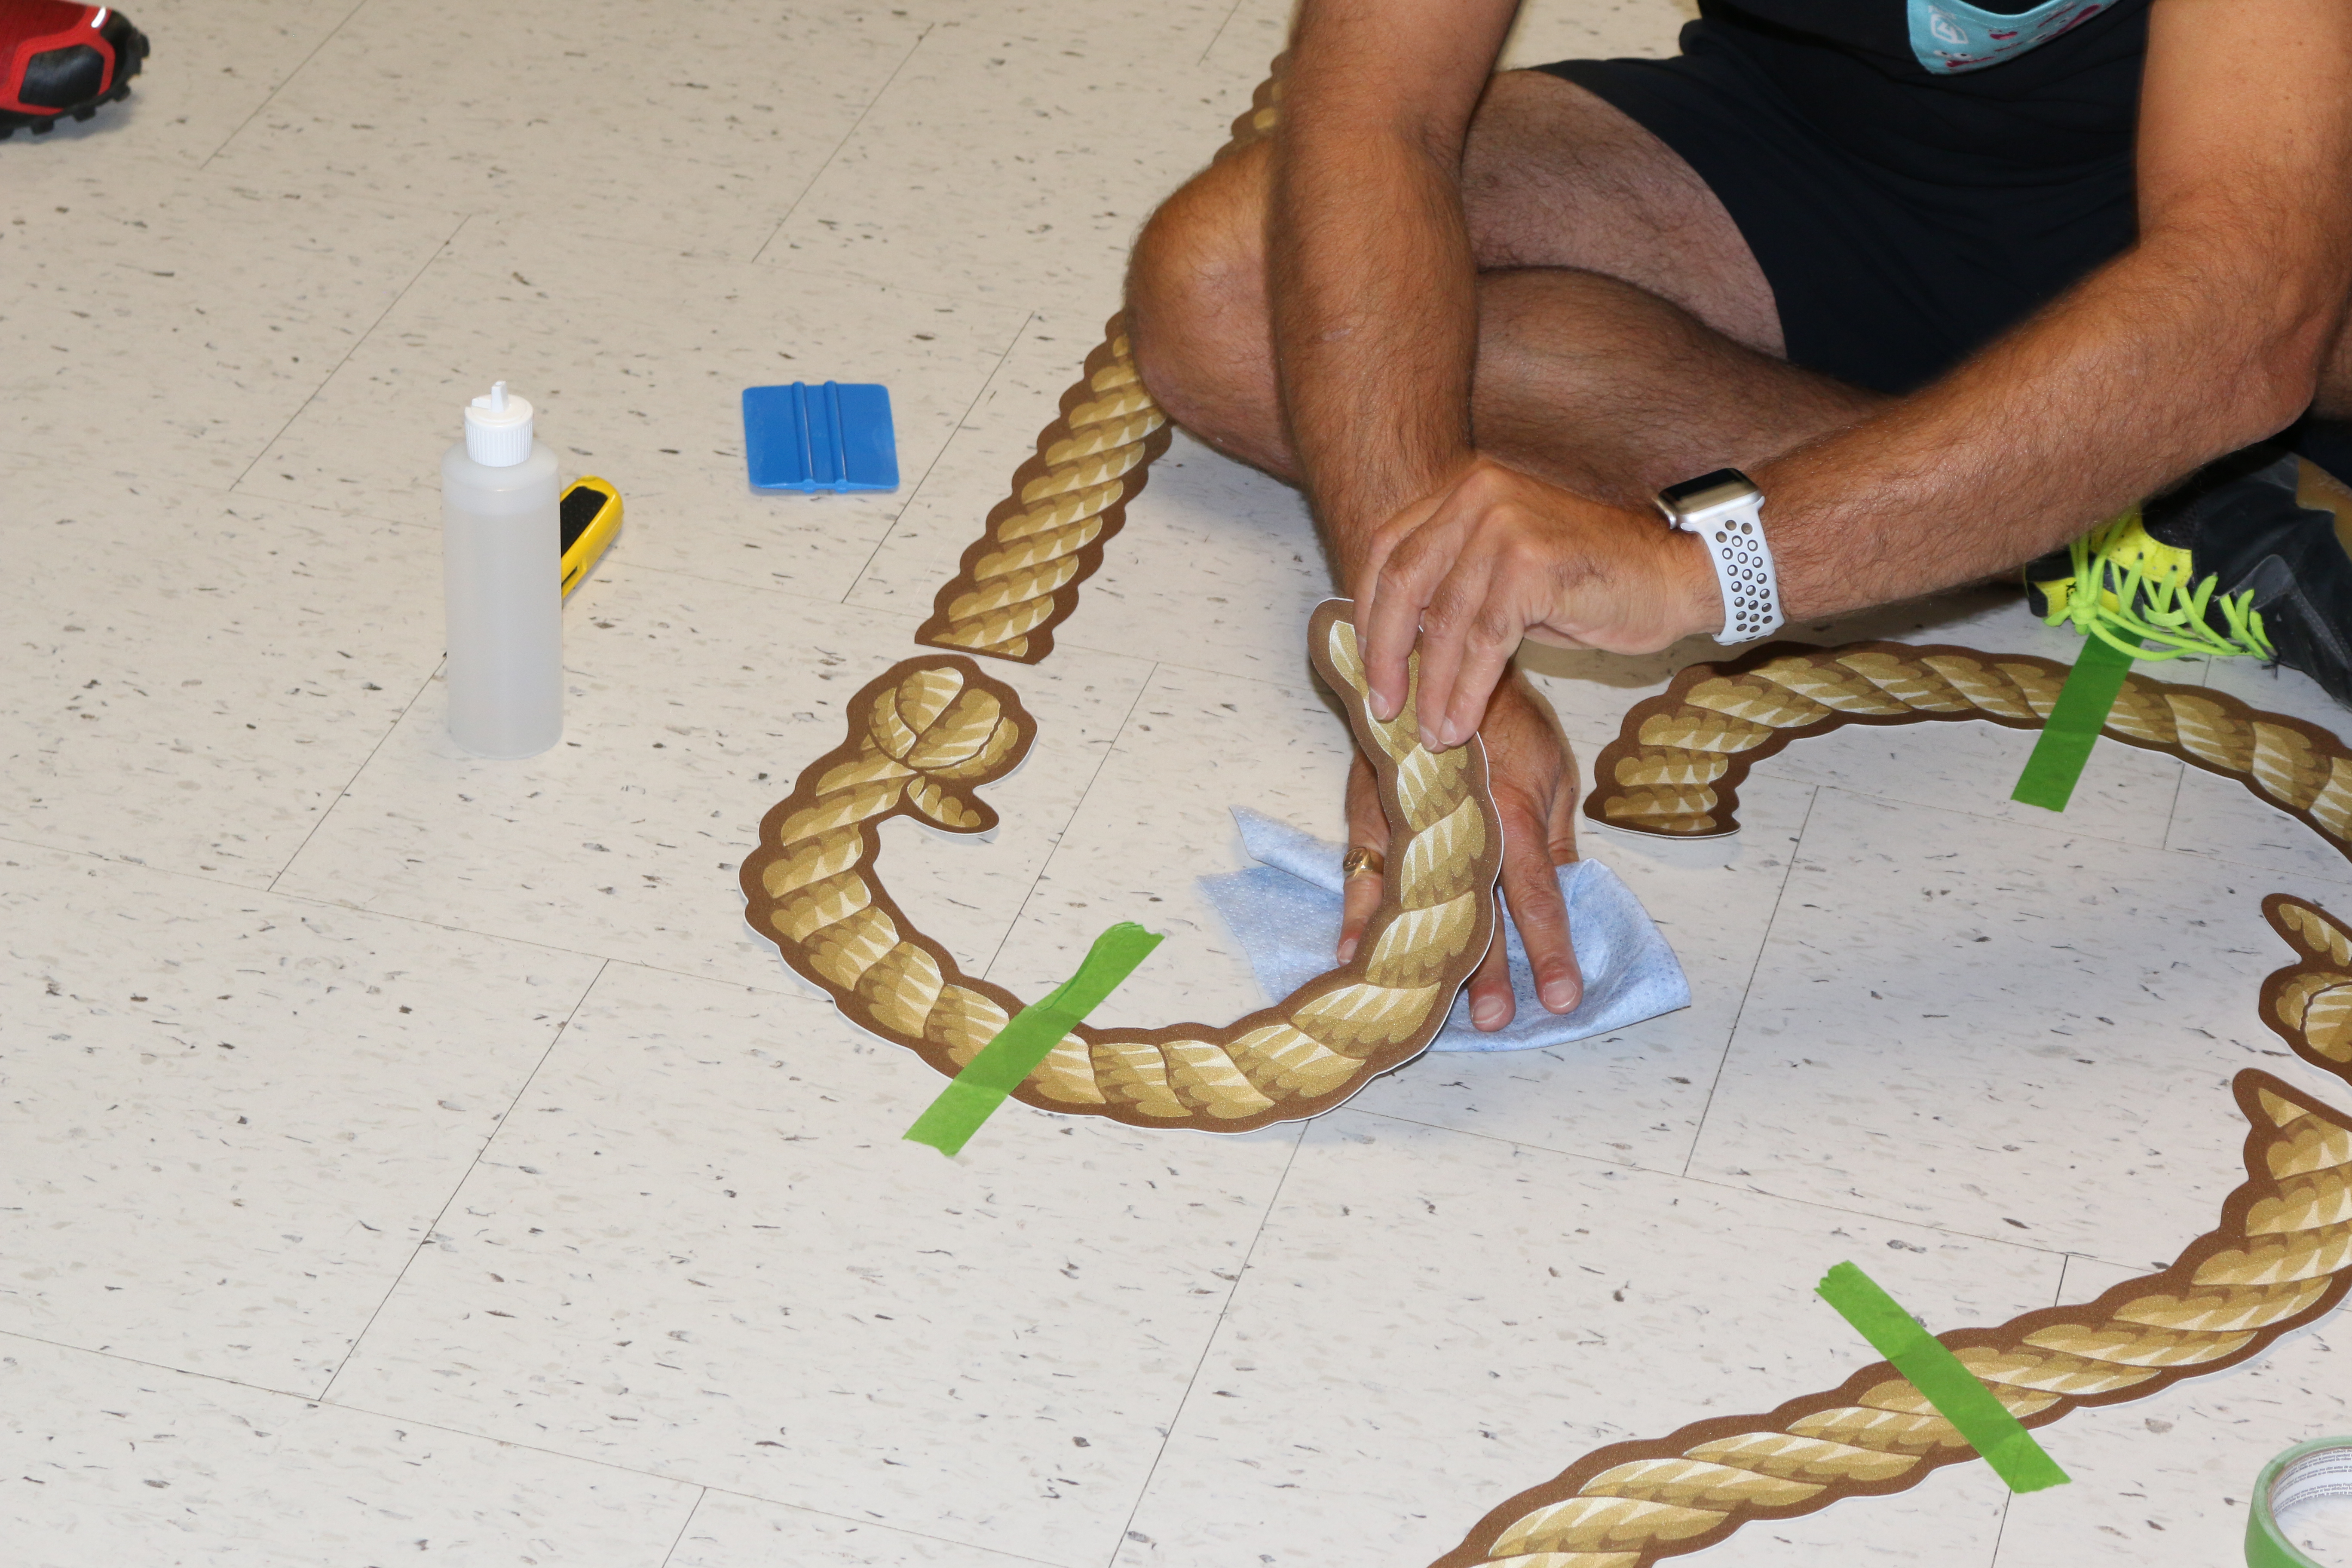
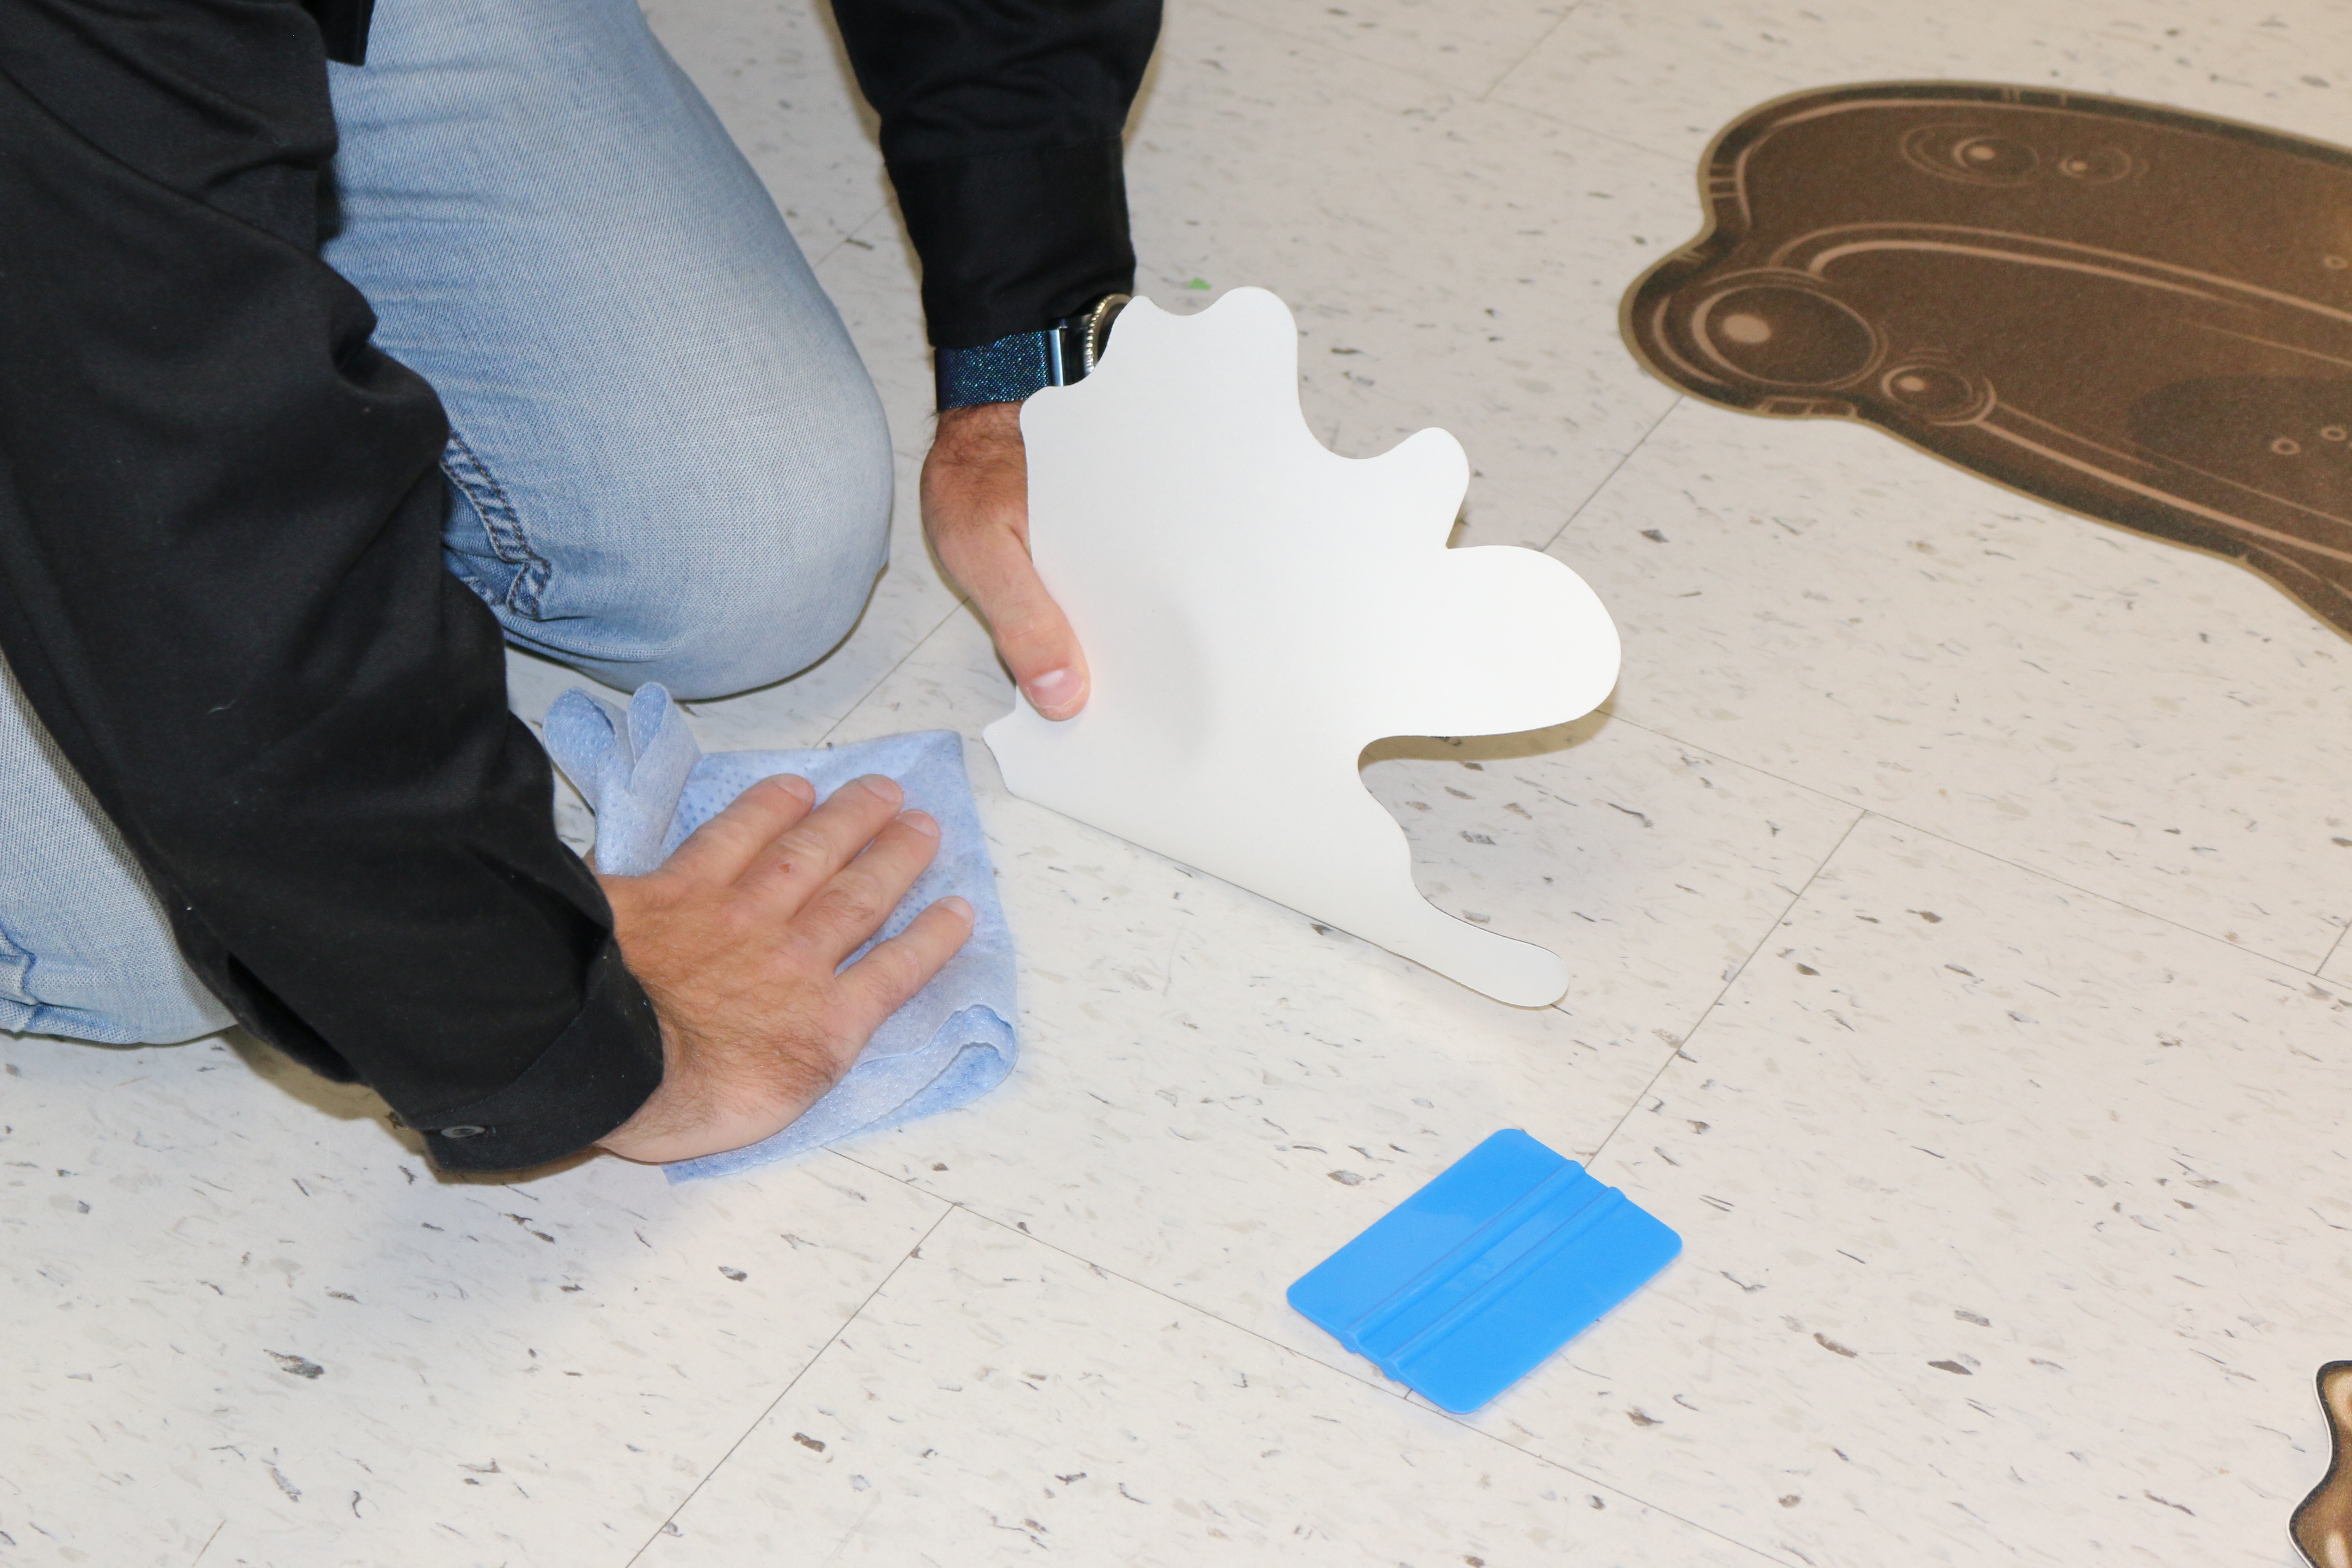
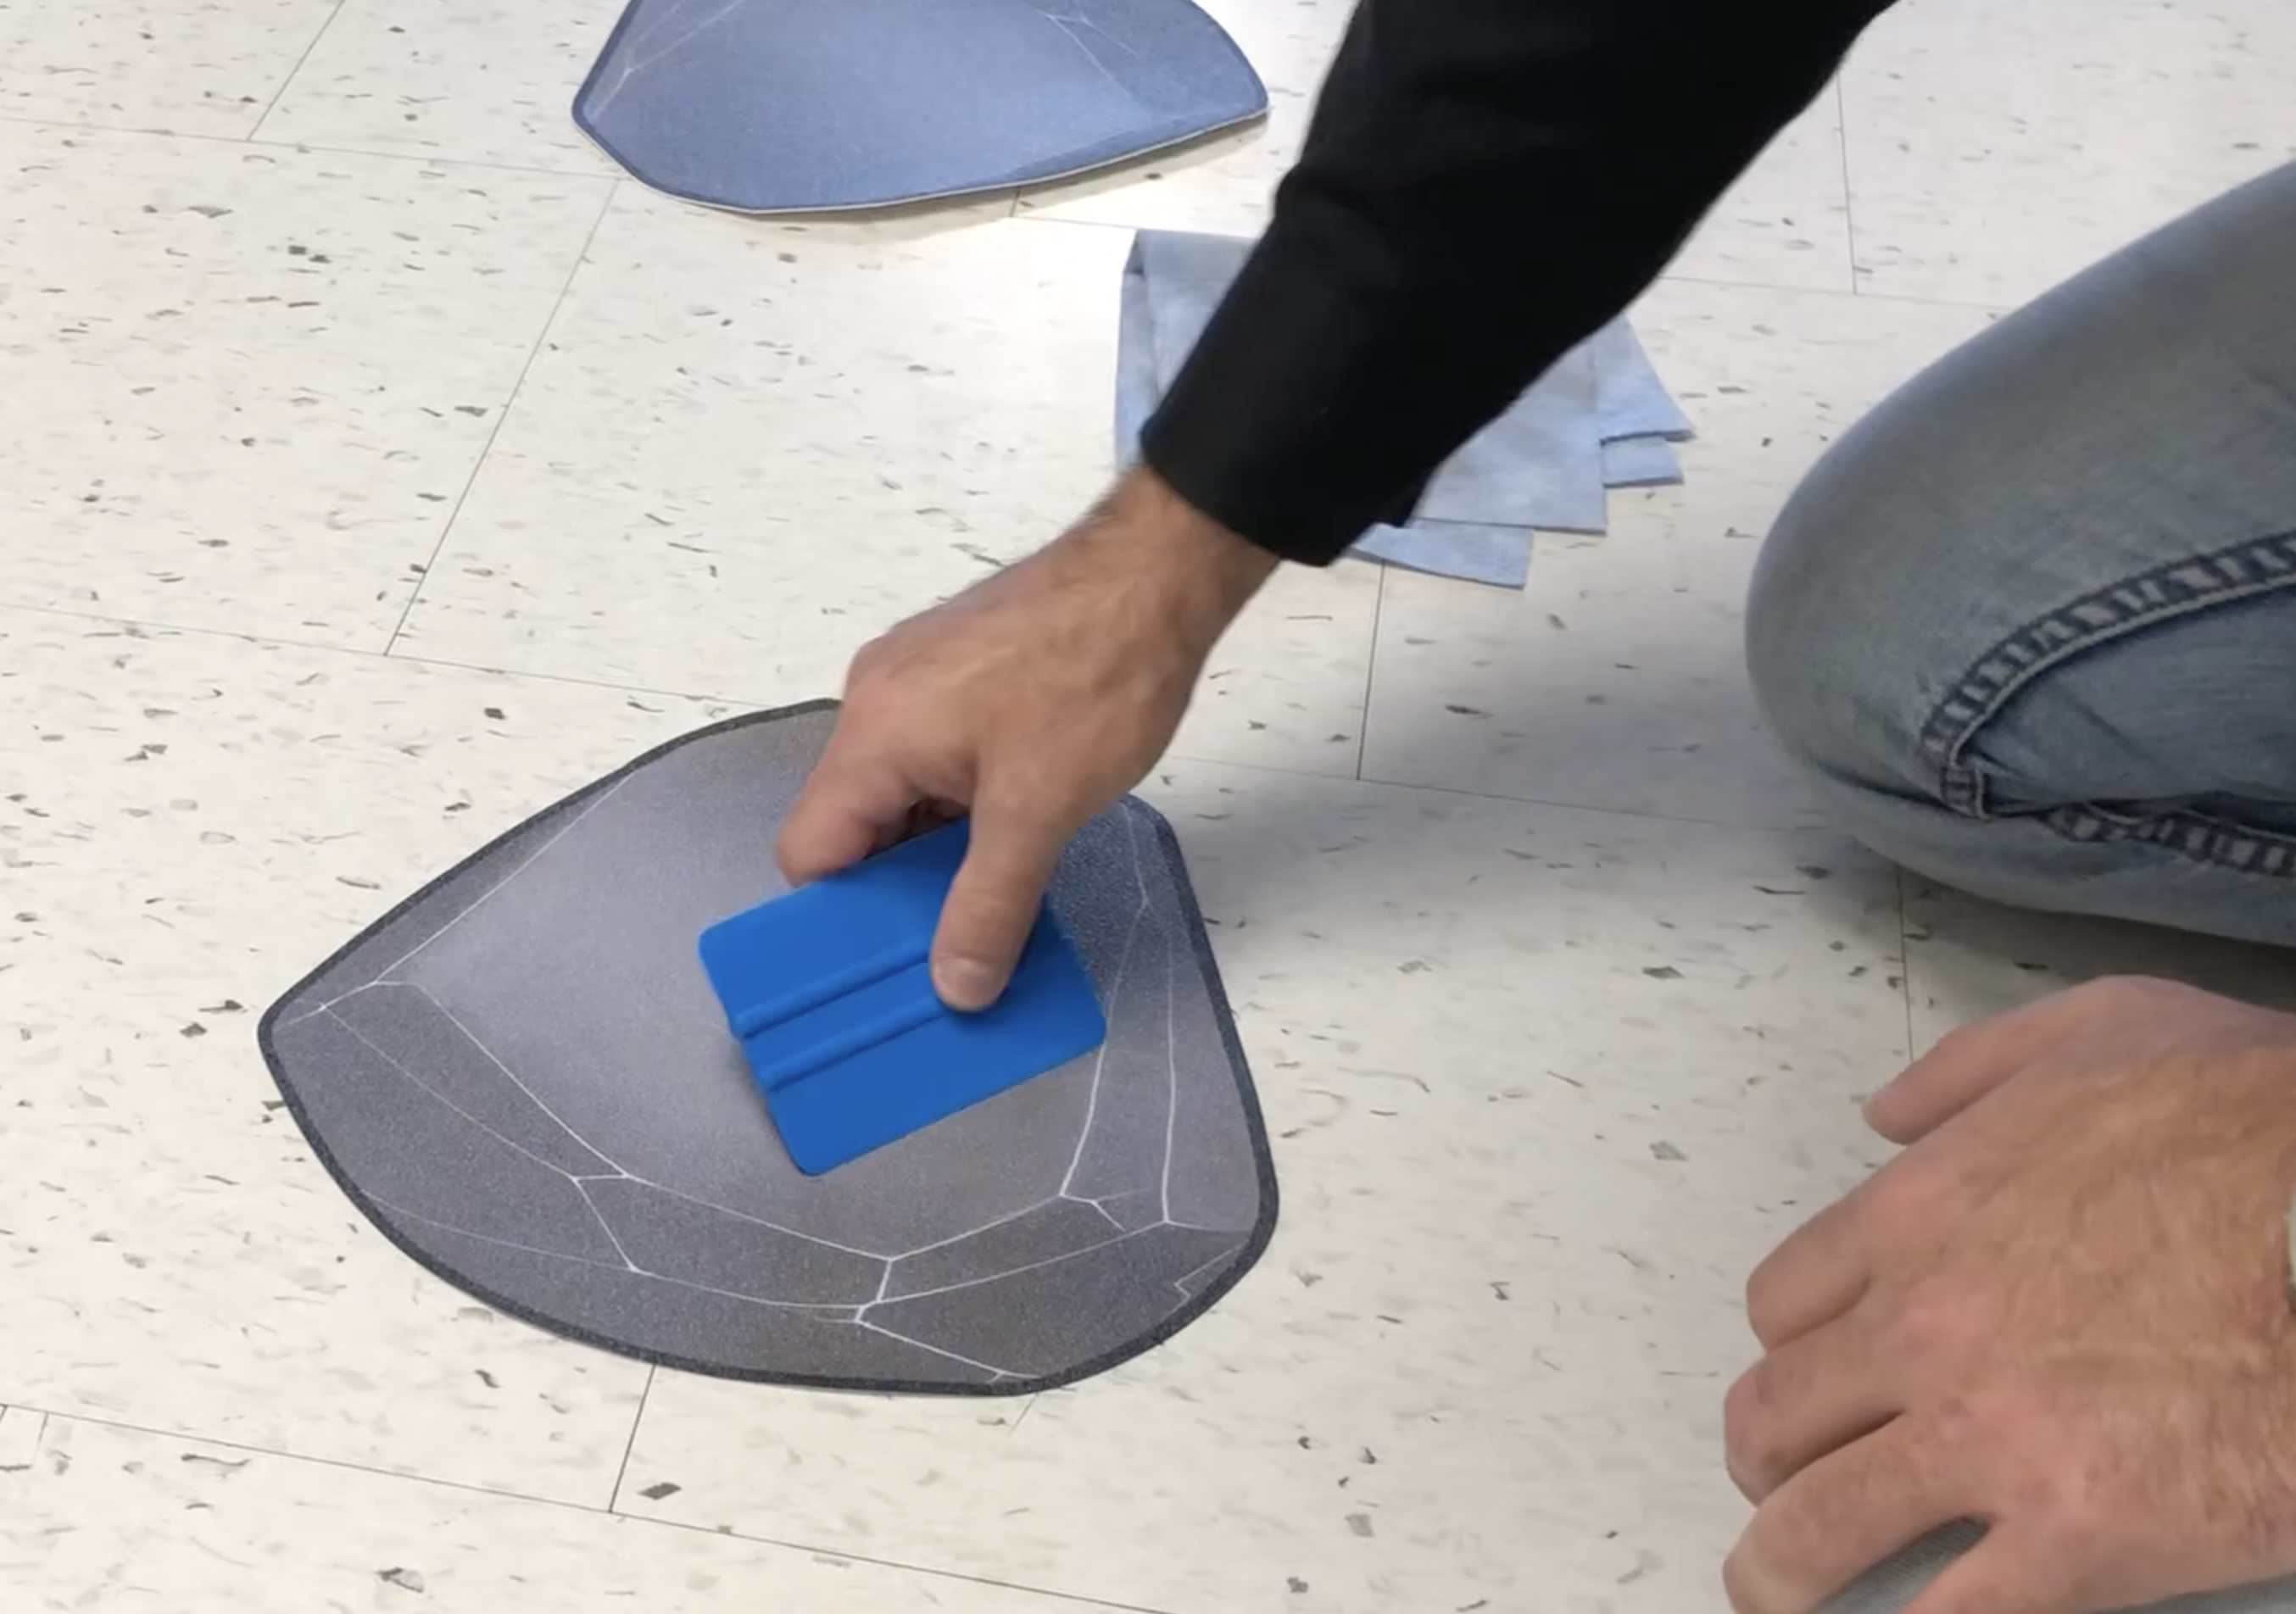
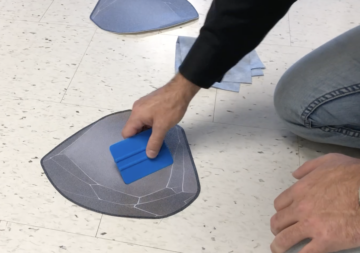
To optimize the self-adhesive layouts’ adherence, you must use a plastic scraper to thoroughly glue the parts to the ground. Make sure to use a scraper with rounded edges so that no parts are damaged.
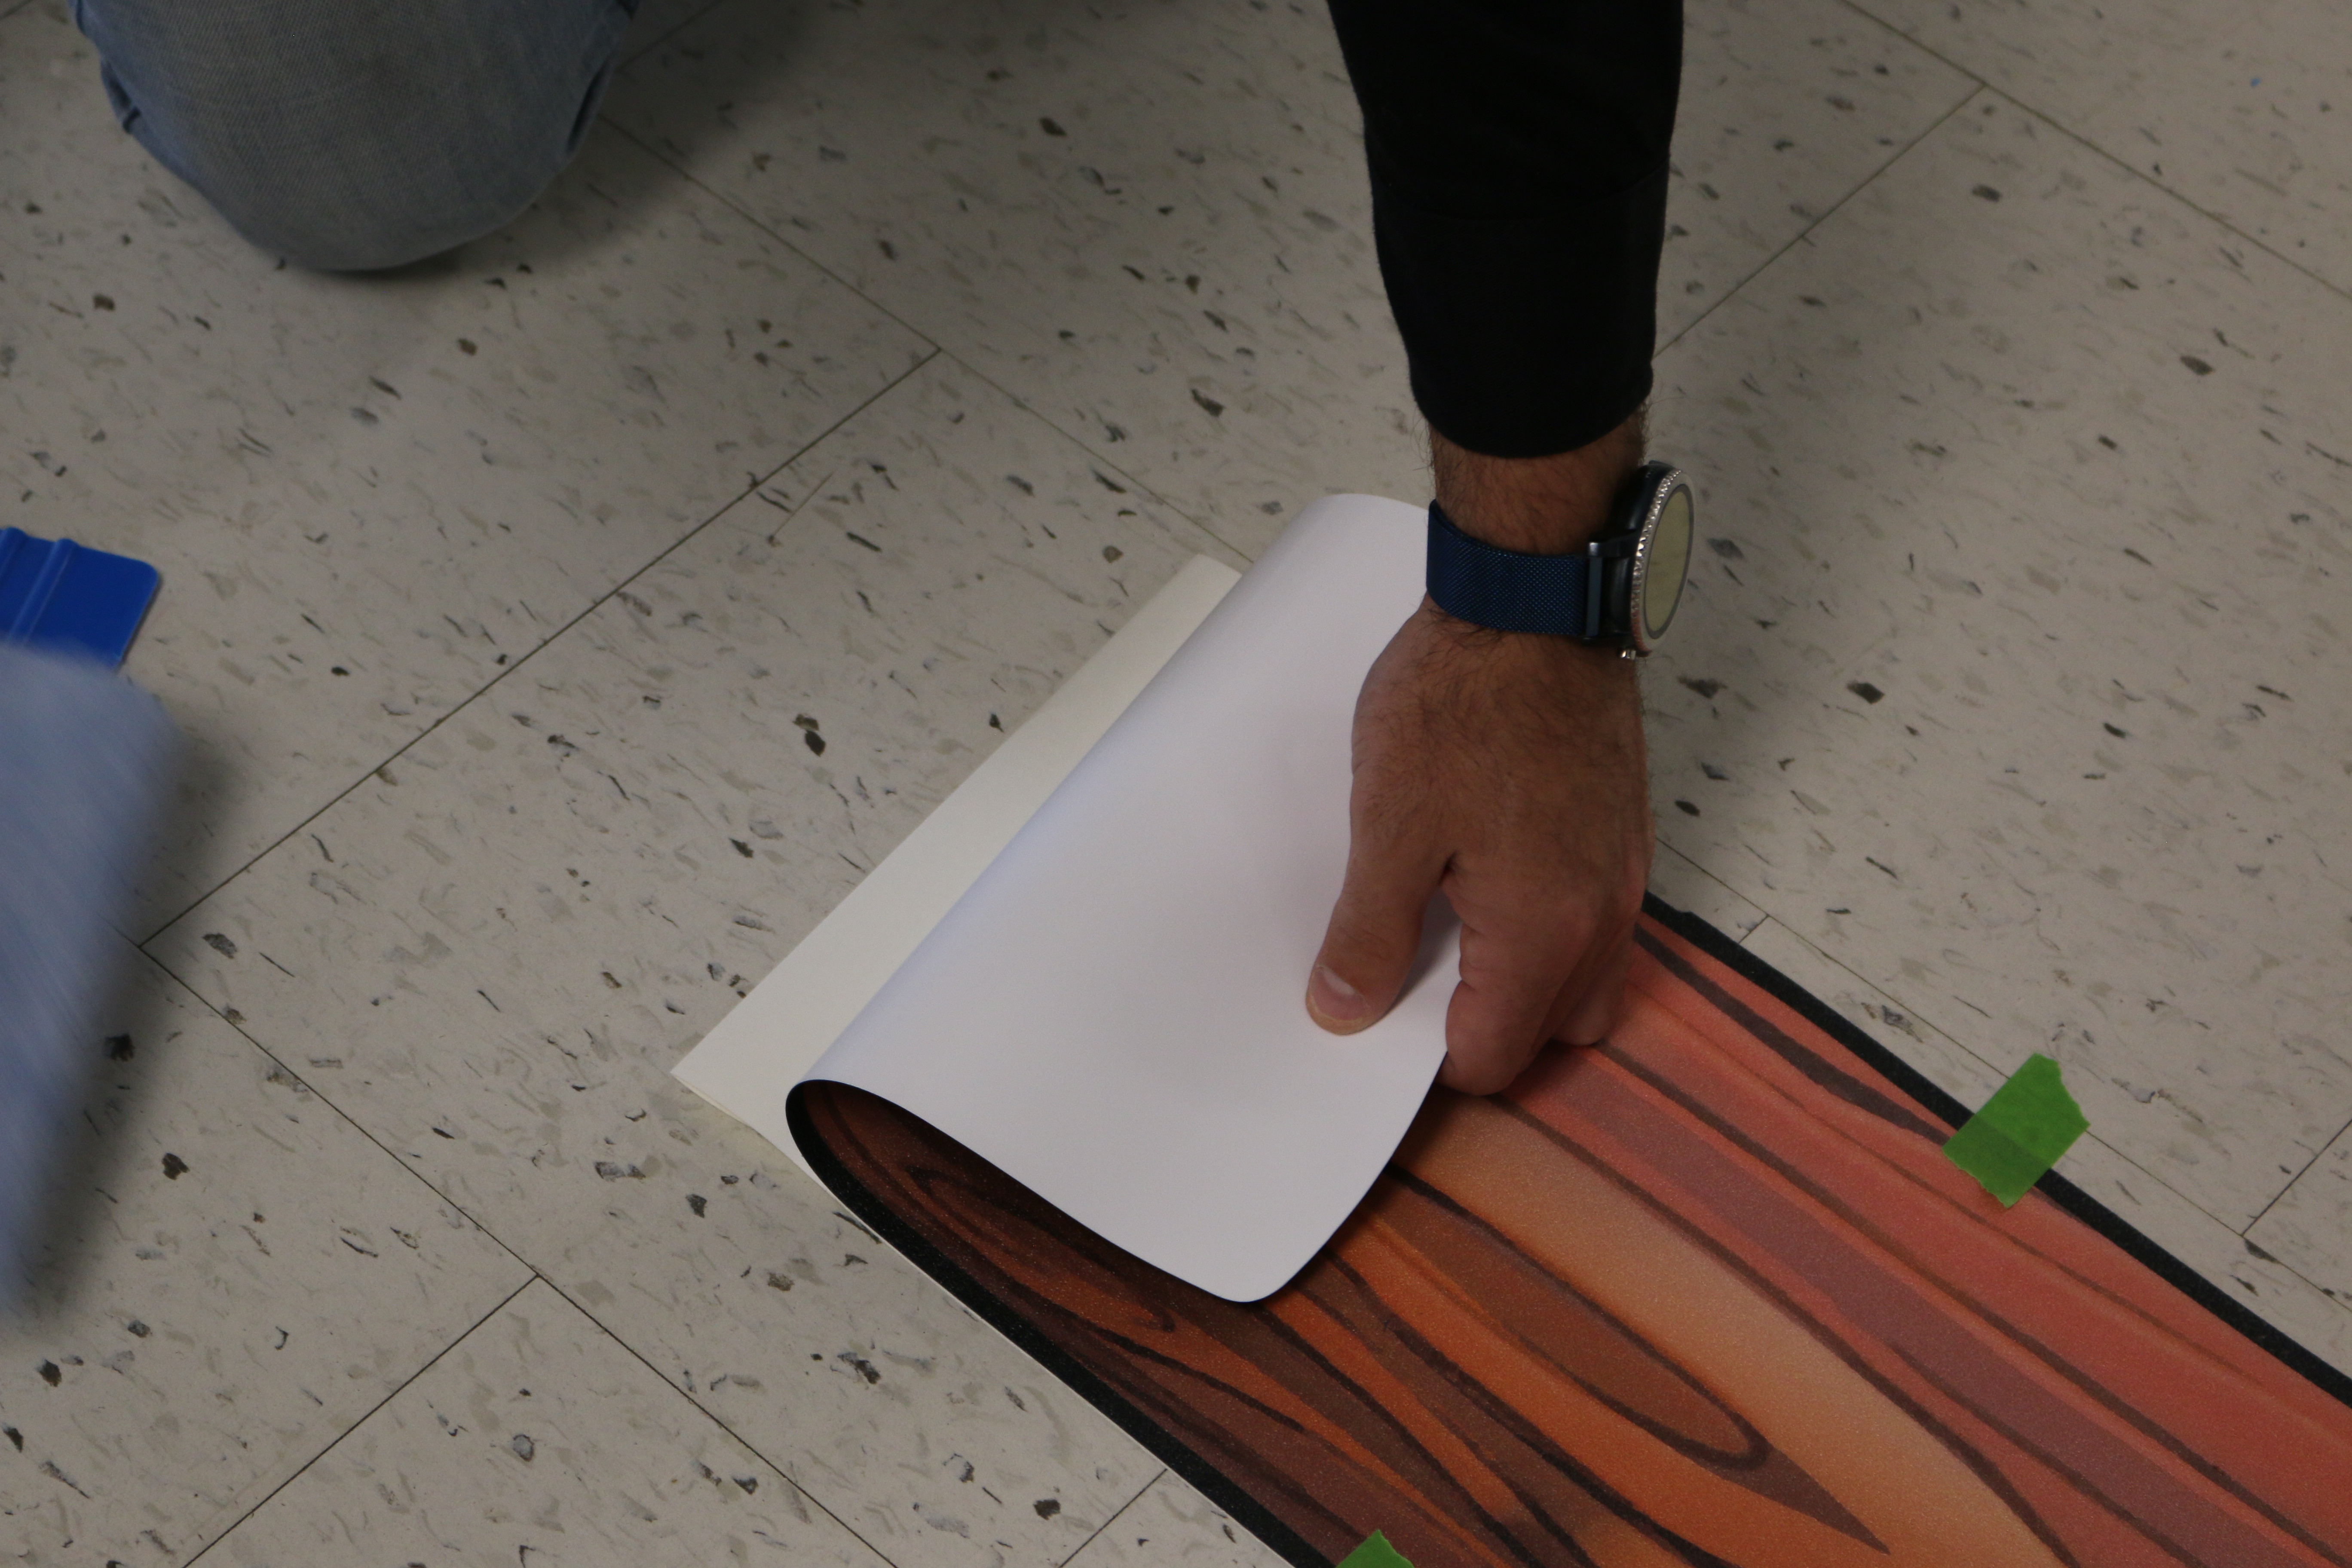
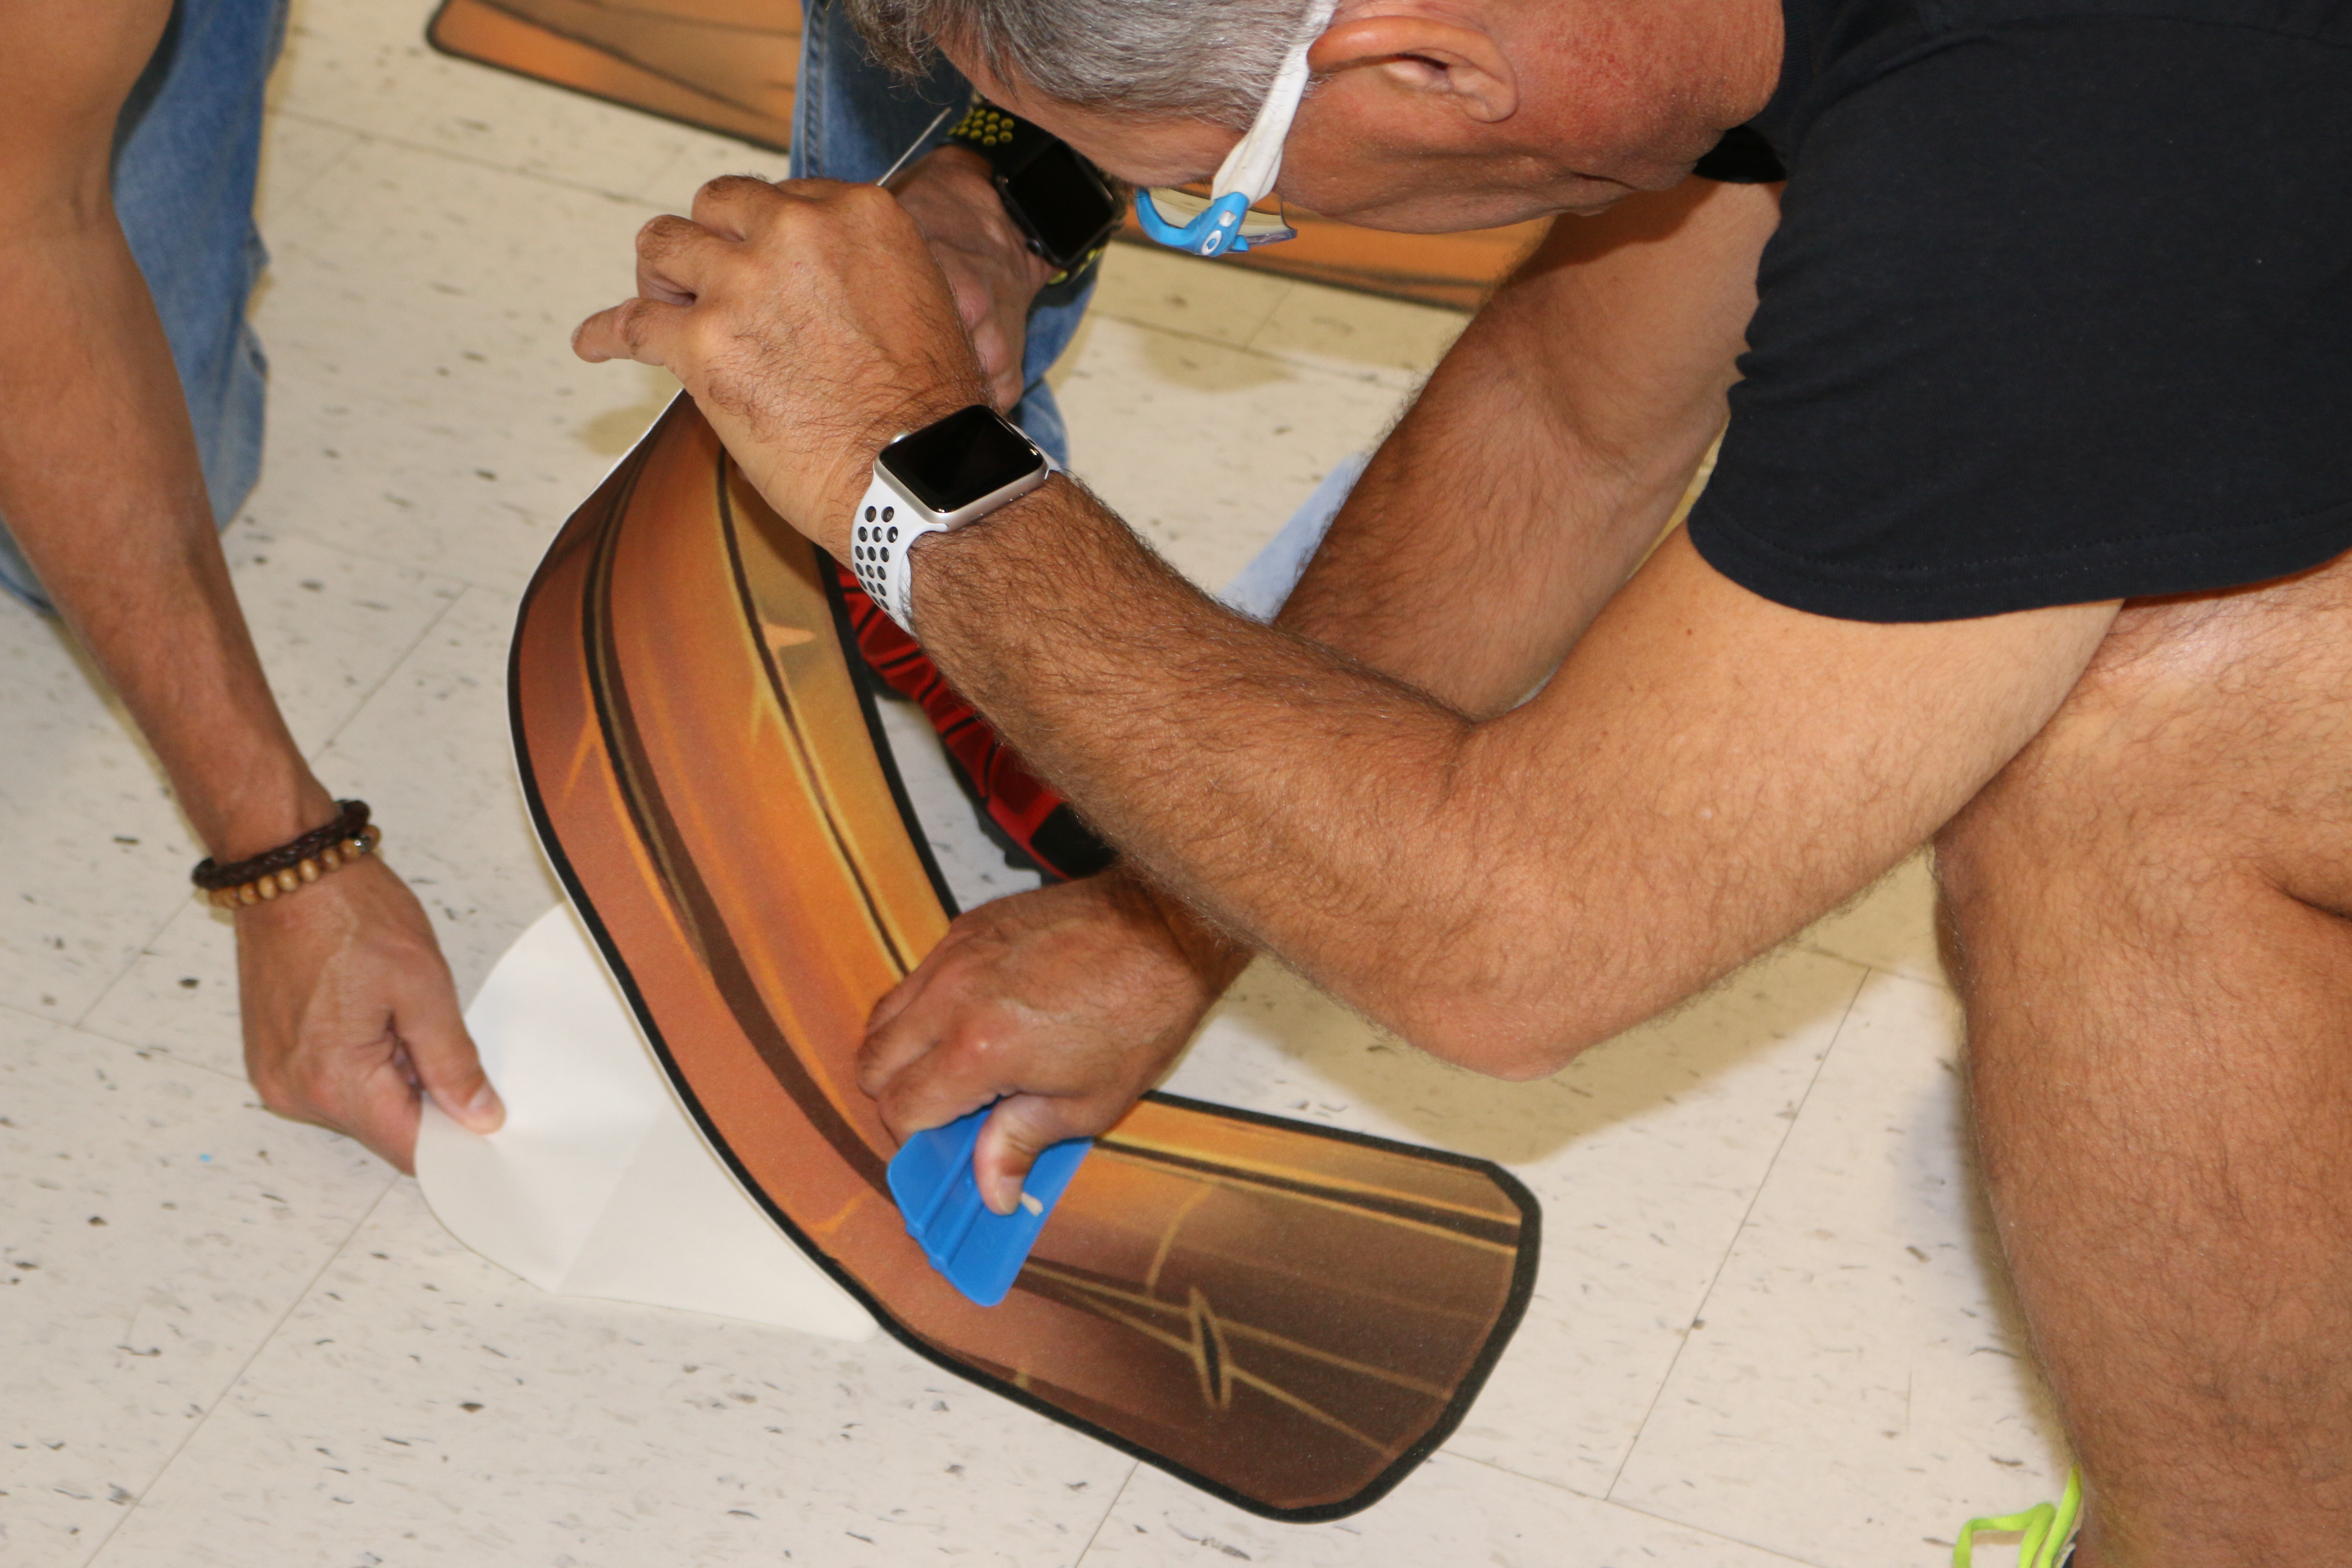
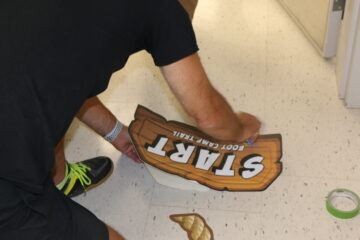
- Starting the bonding – For large parts, cut part of the paper under the self-adhesive layout, using an exacto or scissors.
-

- Glue the cut-out part and unroll what’s left of the protective film under the self-adhesive layout until it is affixed.
- Note: Use the scraper to glue the self-adhesive layout by pressing from the center to the edges to eliminate as many air bubbles as possible.
-
- Bonding the part
- Note: to remove the last tiny air bubbles, use an exacto to puncture them and, using the scraper, eliminate them.
-

-
To properly position the parts during gluing, take care to align the starting gummed tapes with the incoming ones.
You are now ready to liven up your corridors and get both young and old moving!
 Stickers
 Games
Games Motricity
 Reinforcement
 Pedagogical
 Furnishings
 CEPS
CEPS